How to Tie Dye Nail Art with Airbrush Gun
Issue No. 084
![]()
HELLO AND WELCOME TO BEYOND THE PAINT, A BLOG BY BIO SEAWEED GEL (BSG).
BEYOND THE PAINT WILL BE BRINGING YOU POSTS AND CONTENT THROUGHOUT EVERY MONTH TO LOOK FORWARD TO! STAY TUNED FOR EXPERT ADVICE, EXCLUSIVE NEWS, EXCITING INTERVIEWS, GIVEAWAYS AND MUCH MORE
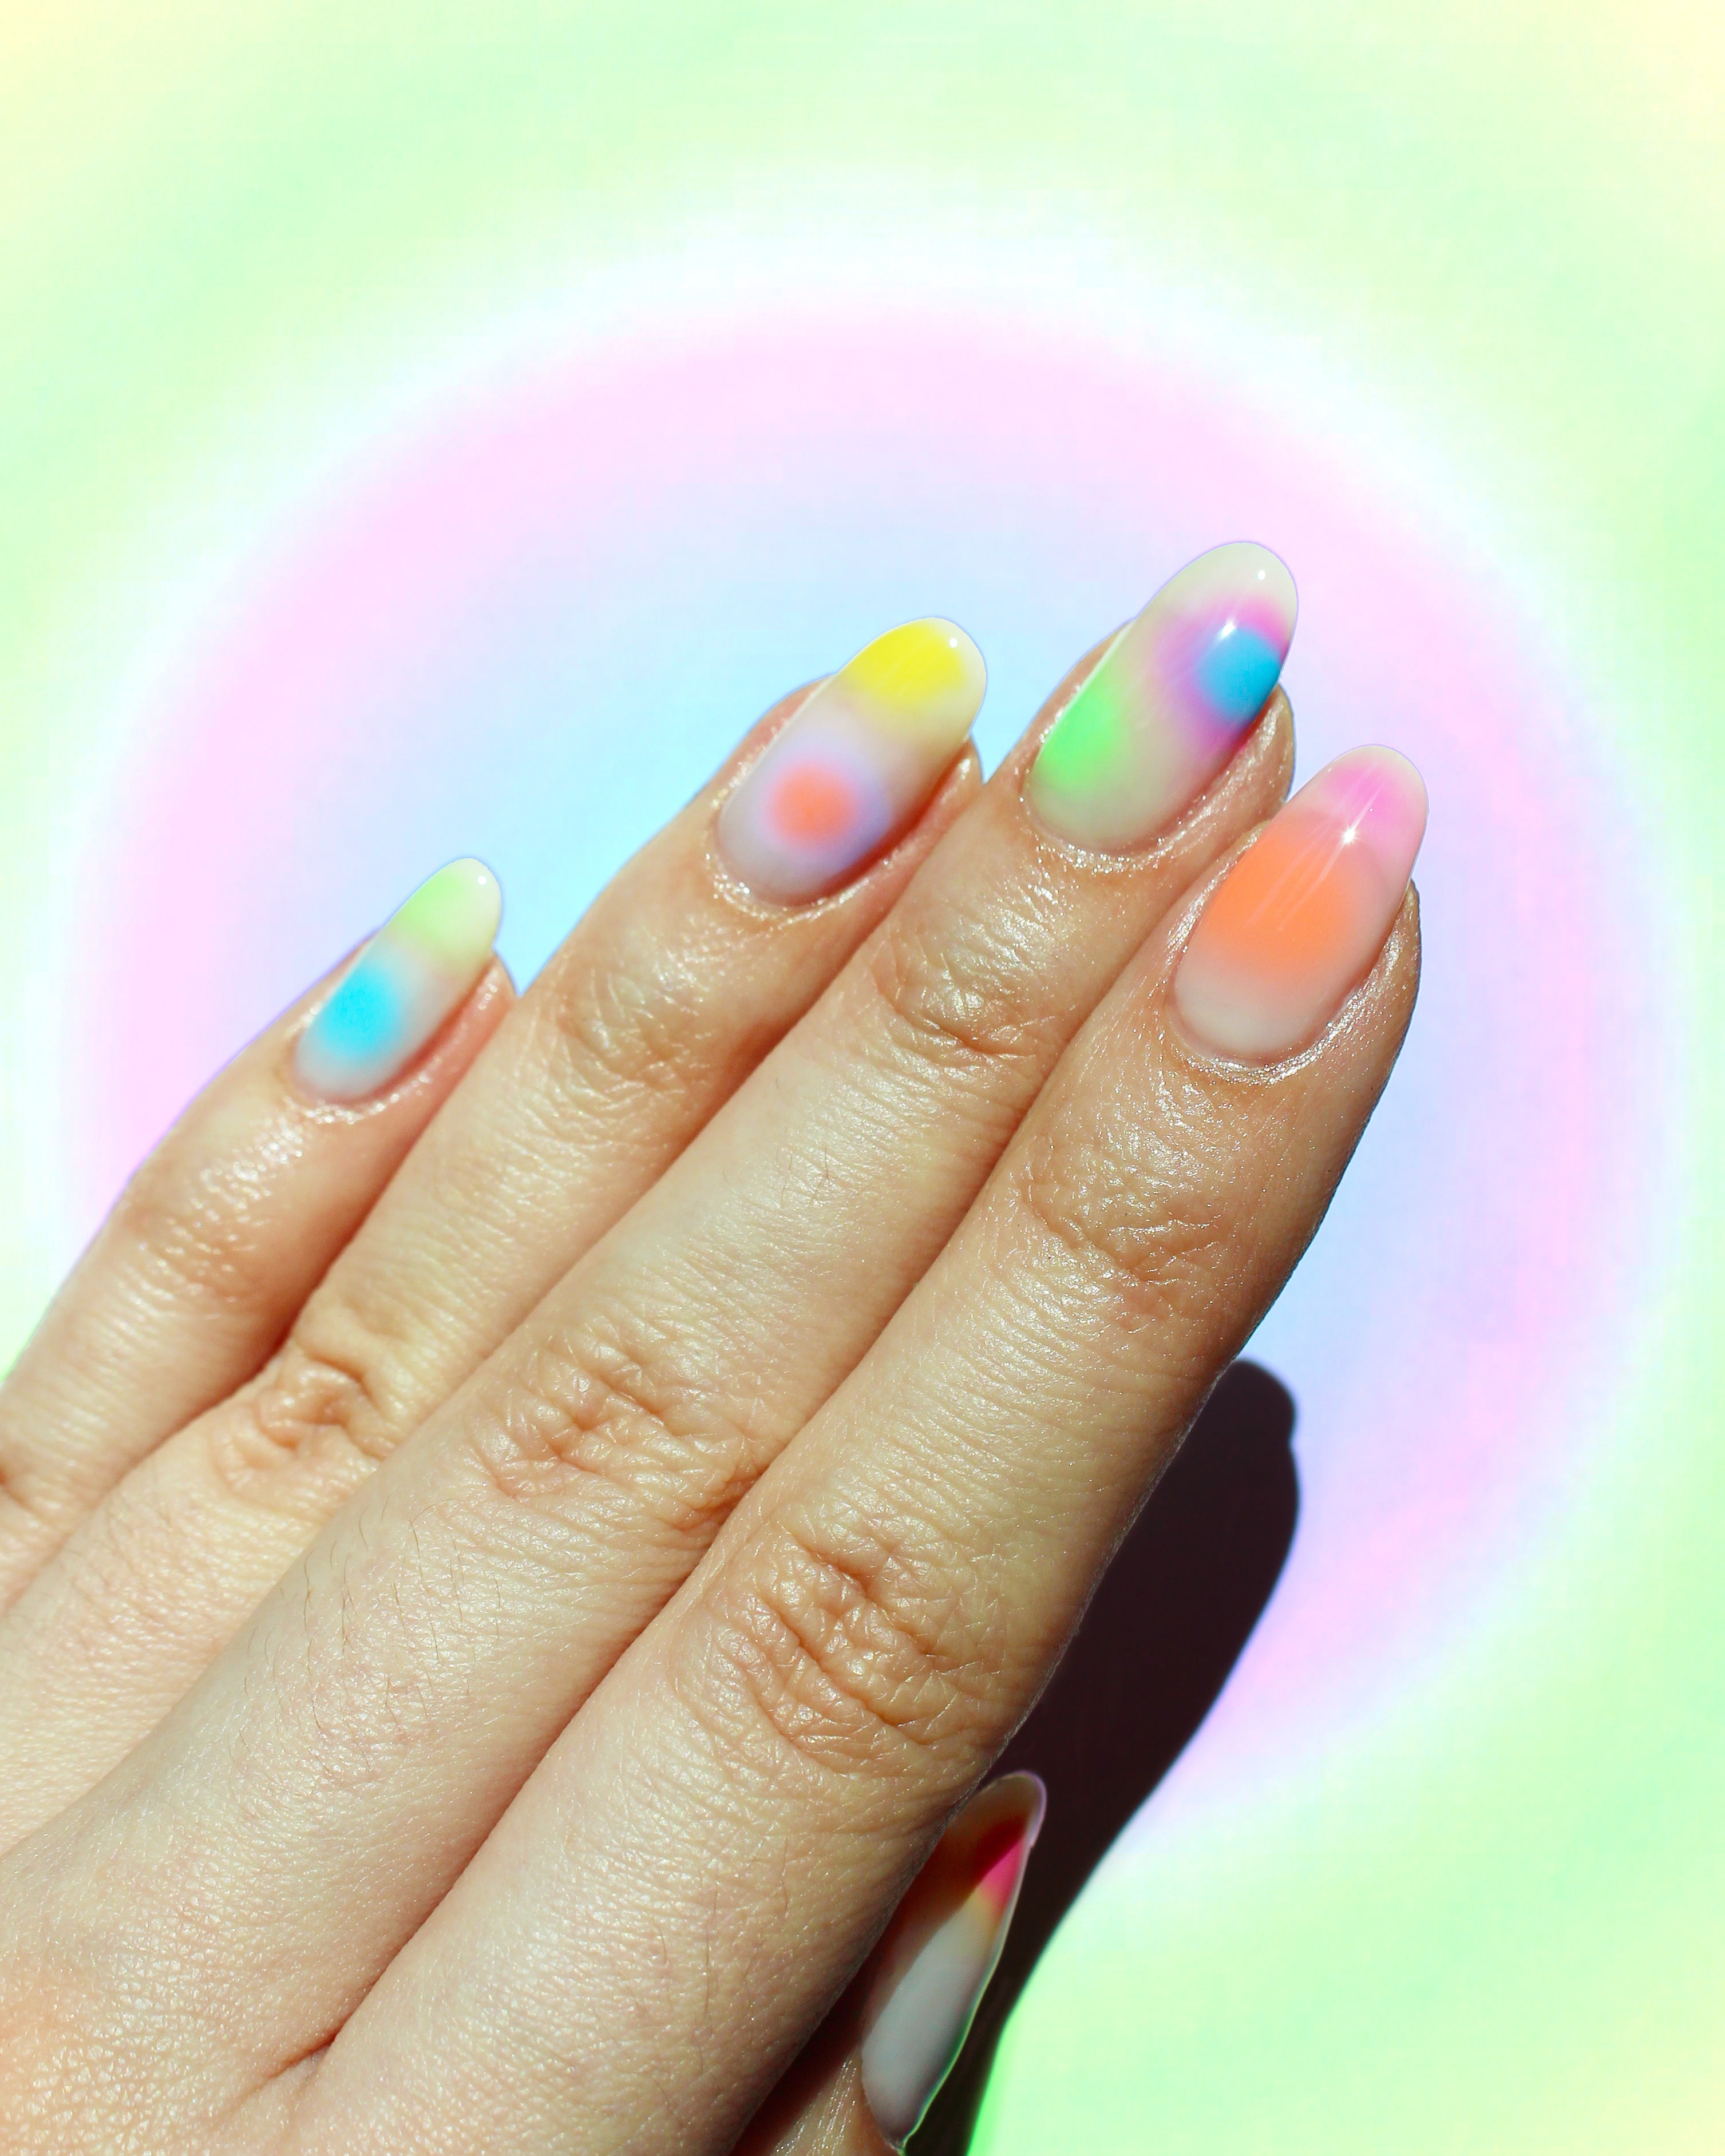
How to Tie Dye Nail Art with Airbrush Gun

In this blog post, we asked @beautybygiia how she achieved this gorgeous look:

And we got the answers for you! For starters, she did use all Bio Seaweed Gel colours to create the look, but she did also use a airbrush gun. At this time, we do not sell this amazing nail art tool - but we loved the look so much we thought it was still worth the share!
If you aren't in the market for getting an airbrush gun just yet - you can also achieve a very similar look by using our Blooming Nail Art Gel Polish: Artist'e! It helps create a similar effect, so instead of filling the airbrush gun up with your next colour, you would apply a layer of your Artist'e, then cure inbetween each colour layer, and repeat until the desired look is achieved.
You can view a similar nail art look created with Artiste, by clicking here: Summer Aura Artist'e Nails Tutorial:
Before you continue reading to see how the Tie Dye design with the airbrush gun is created, we would like to share a little interview we had with Gia 💖
What inspired you to become a nail technician, and how did you get started in the industry?
My mom inspired me to become a nail tech. She started out as a nail tech & esthetician which inspired me to pursue my career in the same field! I also have other family members in the beauty industry which helped me decide too!
Where are you located and how can we book with you?
I’m located at Paint Nail bar in Pittsburgh, Pennsylvania. You can book with me on our website which is on the link in my bio! (@beautybygiia)
How would you describe your signature style or approach to nail art?
I love doing all types of nail art! My favorite has to be characters and using the airbrush.


What are your favourite tools or products you can’t live without in your kit?
My clean up brush, and my 8mm detail brush!!
What nail trends are you loving right now, and which ones do you think are on their way out?
I’m obsessed with the airbrush aura trend!! And as much as some clients love it, I think bows are going out of trend
How do you ensure your clients leave your chair feeling confident and cared for?
I always make sure to ask them during each step before curing and being as flexible as possible when it comes to timing!
What’s been your most memorable nail design request or client experience?
My most memorable nail design request was Duolingo the owl!! (Pictured above) My client was going to their anniversary party!
What are your top 3 favourite BSG colours?
Milkshake, pretty in sage, and hydrangea!


What advice would you give to someone who wants to pursue a career in nail tech or nail artistry?
Keep practicing, because practice makes perfect. My first nail art experience I couldn’t even draw a straight line!
You can also follow Gia on TikTok: @gmurgio
Thank you for your time and sharing all this wonderful insight, Gia! Now, onto the super fun part!
How to Tie Dye Nail Art with Airbrush Gun Tutorial

Step 1: After prepping the nail accordingly, apply a milky nude base color. Using a natural base will ensure the colors will blend perfectly. Do two coats of the colour "05 Cotton Angel"
Shop the suggested products:
- Base-1 Gel Polish
- Brush On Builder X
- 05 Cotton Angel
Step 2: According to the directions with your airbrush, use the directed liquid inside of it. I used the dilution liquid that came with my airbrush. Starting with the lighter colors you’re using first will make it much easier to clean them out when switching the colors. Drop a few drops of the polish into the airbrush, I used “20 Honeybee” - Apply soft yellow dots around the nail bed. Remembering to wipe around the skin before curing for 60 secs. Curing each layer of color is the most important thing!!!
Shop the suggested products:
- 20 Honey Bee
- Lint-free wipes
Step 3: Go in with orange “13 Cajun” around the nail beside the yellow dots you just created, to seamlessly blend the colors together. Wipe the skin off around the nail, and cure.
Shop the suggested products:
- 13 Cajun
- Dotting Tool
Shop the suggested products:
- 26 Pool Party! Step 5: Next, go in with pink “38 Love Struck”next to the blue to create purple. If needed, you can also go in with some purple pigment “37 Berry Sweet” in the airbrush to add some more depth.
Shop the suggested products:
- 38 Love Struck
- 37 Berry Sweet
Step 6: Once you’re finished you can determine if you need to add anymore colors to create the seamless effect of the tie dye!! After curing the last time apply top coat and voila!! Perfect tie dye nails.
Shop the suggested products:
- No-Wipe Top Gel Polish
Join the Conversation
Leave us a comment! What do you think of this nail art?
1 comment
I love tie dye nail art
Amanda
Leave a comment
This site is protected by hCaptcha and the hCaptcha Privacy Policy and Terms of Service apply.